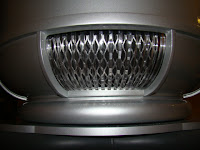
 hen I used Velcro to attach the screen to the top of the upper rail. That way the screen doesn't interfere with the vents. I used weed block material (for ventilation) from home depot as the black out material and attached that with 3M spray adhesive. I used a small amount of adhesive so it wouldn't leave a residue on the aluminum screen.
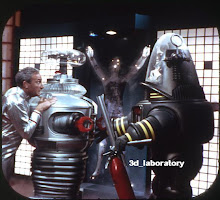
When installed, it looks just like the hero robot and just like the replica installation with 1 important difference. The vents are functional and allow full access into the torso. All you have to do is slide back the vent and then push or peel the metal vent off to gain access as necessary. When finished just push your vent back into place, close your vent and you are good to go.
I had tried bending acrylic to create a stand off for the metal screen but it always seemed to interfere with the upper vent rails. This solution was a very simple and quick solution. This is what it looks when it is fully installed. It took 20 minutes to complete all 3 vents.


No comments:
Post a Comment