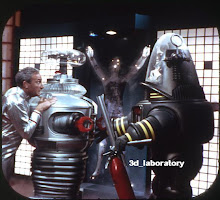
Brain Cup/Finger Light Assembly
As you can see from the left most picture the motor is attached to the motor plate using the rubber bushing to decrease the motor noises. The rubber bushings are trimmed away from the crown shaft opening so as not to interfere with the shaft rotation.
The key to assembling the finger lights is bending the music wire on one end so you can push the wire with 1 finger. Bend the other end of the wire slightly so as the wire advances straight through the drilled holes in the finger light tubes. It might help to sharpen or debur the wire on one end that is piercing the metal finger light rod to ease entry. I strongly recommend you use bulb receptacles from Mouser P/N 35LH010. They are T3-1/4 SCRW LMP SOCK Xicon Lamp Holders.


 Once you have secured the brain cup to the neck piece you can place the brain cam into the brain cup, adjusting its position to the desired finger light elevation desired. Lock down the set screw to the crown shaft and you are finished.
The finger light tubes and tips (a set of 7) is 50.00 plus shipping and Paypal fees. This does not include the lamp holders. The tubes are precut and drilled for the retaining wire. The finger light tips are machined aluminum.